
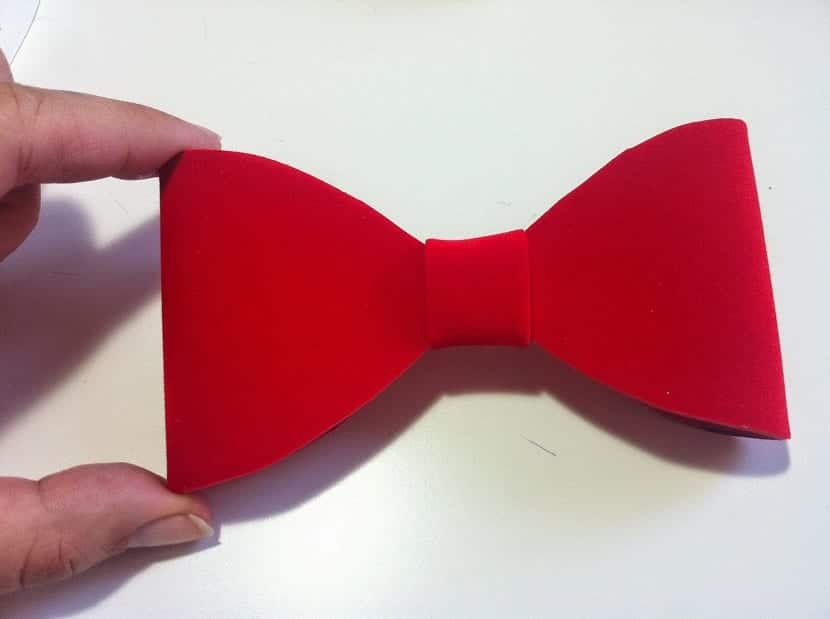
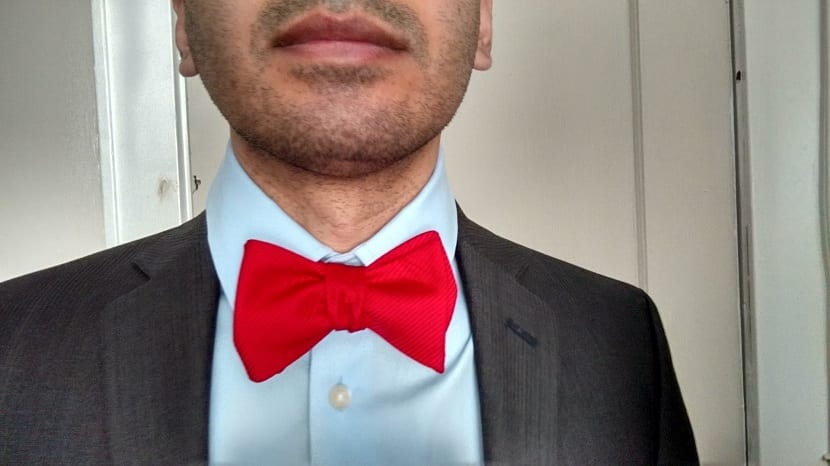
Bow ties are not just for wedding suits or suits in general. On many occasions there are men who want to complement their shirt style more with a bow tie than with a tie. If so, here we will teach you how to make a bow tie step by step. Because from home you can also make it yourself and it will be the same as one that is bought.
You want to learn how to make a bow tie? Keep reading then 🙂
Materials to make the bow tie

Making a bow tie yourself is not very simple either, since the materials must be acquired. It is possible that if your mother or grandmother is fond of sewing she may have some of these materials, but it is less frequent. To make the bow tie you will need at least half a meter of fabric in addition to:
- Pencil
- Paper
- Tailor's chalk
- Sewing machine
- Hilo
- Fabric scissors
- Tongs
- Bimini
- Half a meter of interfacing
First of all we must make the template from a bow tie. You may have the bow tie handy and can use it to make your template. You can fold the paper in half and trace an outline with the pencil. In this way we can make the template from the previously placed bow tie.
If you don't have a bow tie to make the template, don't worry, we are going to show you how to do it without a bow tie. You only need to measure around your neck and divide the total measurement by two. This will give us the measurement of the half neck to be able to make the template. Next, we draw the rectangle as long as possible so that it reaches the measurement of the half neck and we will put about 2 cm wide. We have the bow tie template ready.
Prepare materials
In order to make the bow tie we will need to prepare the materials well so that it is perfect. The first thing is to cut out the template to have it as a reference. To do this, we will use the scissors. Then we will fold the fabric in half. We will make sure that, when it comes to folding, is wide enough to fit the cutout made from the template. The more similar both are, the better it will be.
You have to think that the template is made with the right measurement of your neck and the perfect width. If when cutting and folding we do not do it with precision, we will be making mistakes that we will drag on until we realize that the bow tie is not our size or taste.
Once we have cut and folded, we place the template in the fold. We use a piece of chalk with which we will draw the limits around the template. We will do it with a continuous line so that the outline is clearer. We add the seam allowance to ensure that when using the sewing machine, the dimensions are perfect. Ideally, add 1 cm around the outside of the outline made with chalk. In this case we will do it with a dashed line to clearly differentiate the limits.
Once everything is ready, we will cut the fabric and repeat the process to make another equal bow tie.
Making the bow tie

We already have the two bow tie fabrics. Now we must place the interfacing. The interconnection should be in the middle. When we place the interlining we must take into account that it has to be wide enough to fit the entire template.
We place the template in the fold and trace the outline. Then we cut and repeat the process so that the interconnection is in the two pieces. In this case, even if the fabric is the same, there will be no seam allowance and we will place it on the back of the fabric.
Assembly
Now let's move on to the bow tie assembly.
- We put the two pieces of fabric on the right sides together.
- We sew around the bow tie, always respecting the seam allowance of 1 cm. As we are sewing we have to take into account to leave a space of 3 cm on one side for the length of the bow tie.
- We trimmed the seam allowance so that we can get as close to the stitches as possible. This way we can sew it more accurately.
- We turn the bow tie from the inside to the outside to use the vacuum that we left of the 3 cm long. If this action is more difficult for you to carry out, you can use a toothpick to turn the fabric inside out.
- We iron the bow tie to seat the seams.
- We sew the gap that is closed using the finest sewing needle you have. This way, the stitches will hardly be noticeable.
Materials with which the bow tie can be made

As we know, there are thousands of types of bow ties, as well as ties. We can create our own style using different types of fabric or colors. They can be checked, striped, smooth, velvet, etc. If we want a bow tie for something less serious, we can create it with a cotton print.
We can also make bow ties for the days when we have a carnival or costume party. For this we can use a pattern to add to the bow tie or place a rainbow making it more colorful.
So that you have useful information, we are going to tell you the clothes with which a bow tie can help or with which you should not wear. It is a complement with aspects to take into account. The first is that if it is the first time you wear them, you may opt for plain ones. As you get used to and look comfortable with them, you move on to the ones with prints. They are perfect to wear with tuxedos or suits.
What clothes should you not wear a bow tie with? It seems like a no-brainer, but it's better do not wear it with polo shirts or t-shirts. The perfect combinations are a jacket or long-sleeved shirts.
I hope that with all these tips you can learn how to make a bow tie and enjoy it at the next party or event you have. Let us know if this tutorial has helped you 🙂