
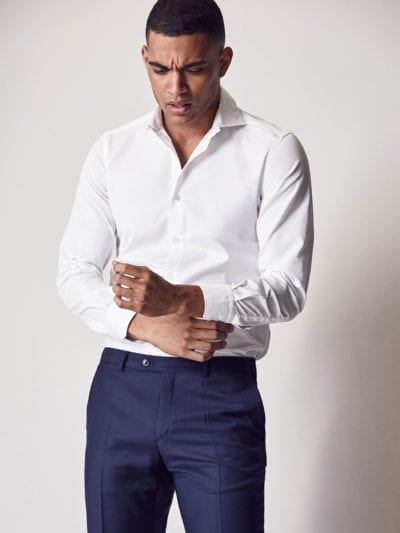
It is in everyone's interest to know how to iron a shirt. And is that Putting on a wrinkled or poorly ironed shirt is one of the quickest ways to ruin a promising look..
Ironing a shirt doesn't require a lot of experience with ironing (you can get an excellent result even if you're a beginner), but it can't be done just anyway. Discover how to iron a shirt step by step:
Preparations
To achieve an optimal result, you must carry out a few small preparations:
Ironing equipment
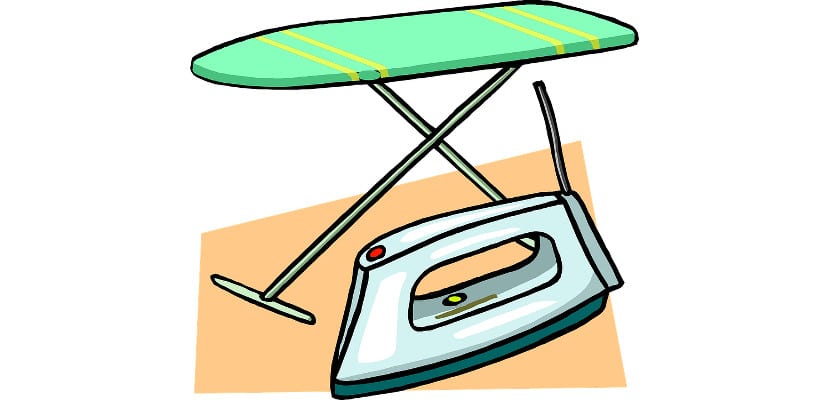
You need an iron, an ironing board and distilled water. It is also a good idea to have a accessory for ironing sleeves and a water spray. In addition, it is important that the base of the iron and the cover of the board are clean, as well as the shirt that you are going to iron. In combination with heat, there is a risk that any small residue will turn into a highly resistant stain.
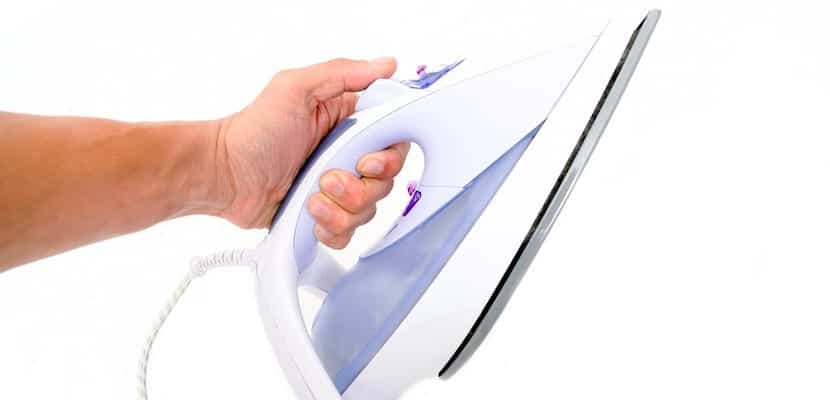
Temperature

Checking the labels of the garments before ironing is essential to avoid ruining the shirt. That little piece of fabric on the inside of your shirt will tell you what the proper ironing temperature is.
Many irons can be configured based on the type of fabric to be ironed: blend, cotton, linen, etc. Delicate fabrics should be ironed at a lower temperature. People with a lot of practice can find the right temperature just by looking at and touching the shirt..
Water
Steam irons need water. It is best to use distilled water to fill the tank, as it contributes to a better performance and result. To save product, use only the water you need. With practice you learn to calculate the quantity based on the number of shirts to be ironed.
Lastly, you can moisten your shirt using the water spray to make the ironing smoother. Many people keep it close by in case they need to use it again during the ironing process. It is also useful to rectify faults: you apply and go back to the iron.
Ironing
Shirts are a union of different pieces of fabric. Ironing them always following the same order will help you not to forget any of them since they do not wrinkle again during the process. When you're done, hang it on a hanger and fasten the top button.
The following tips are key to preventing wrinkles and achieving a flawless ironing result:
- Make sure the tip of the ironing board is on the opposite side of the hand you use to hold the iron. That is, if you are right-handed, the tip of the ironing board should be on your left.
- Pass the iron with the pointed part forward.
- Pass the iron from the outside to the inside.
- Make short passes.
- Make sure to apply enough pressure.
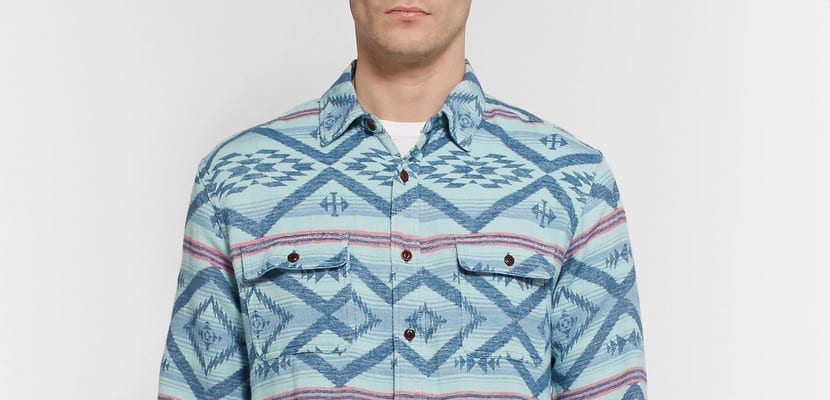
Cuffs and sleeves
Massimo Dutti
Fists: Sometimes it is enough to only iron one side of the cuff. In any case, turn it over when finished, and if there are still wrinkles, make another pass. If it is a double cuff, unfold it fully before ironing. Refold it and revise if necessary.
Sleeveless: Stretch the sleeve on the ironing board, making sure it lies flat. Make small strokes from armhole to cuff. Repeat on the other side. Avoid running the iron around the edges of the sleeve if you don't like very sharp sleeves. Or you can also use the sleeve ironing accessory. It is about introducing the sleeve and ironing as it is turned over, until reaching the starting point.
Neck and yoke
Neck: Unfold the collar on the ironing board. Disassemble the Whales in case you wear and are not sewn. Use two movements instead of one: from the outside to the center. Review if necessary. Flip it over to iron the other side of the neck. Re-iron it folded if you want the line to be more pronounced.
Yoke: The yoke is the piece at the back of the shirt, just below the neck. Lay the yoke flat on the tip of the ironing board. Iron first one side, then the center, and last the other side. Go repositioning it on the table to keep it flat.
Front and back
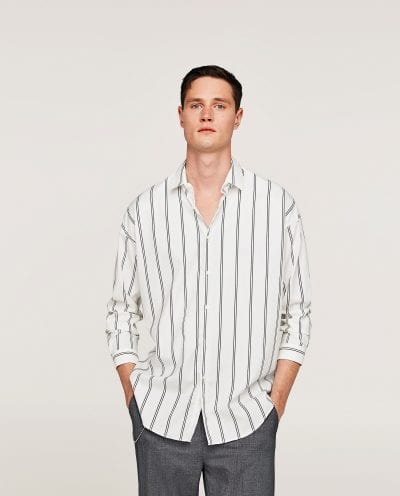
Zara
Forward: It is the part of the shirt that is seen the most, so it is a good idea to spend the necessary time until it is perfect. Start at the inside of the front, emphasizing the strip of fabric where the buttons are sewn. Then flip it over to iron the outer side. Pass the iron from the bottom up, making sure that the fabric is well stretched (inserting the shoulder at the peak of the board will help). If you have a pocket, save it for last. Use the tip of the iron in the corners. Repeat with the other striker.
Back: Begins with a side seam. Run the iron from the bottom up (also in the folds of the yoke seam if you have one) and rotate the garment on the ironing board until you reach the seam on the other side. Again the peak of the board will help you keep the fabric stretched.